ArduPico – An Arduino-style Carrier for the Raspberry Pi Pico board
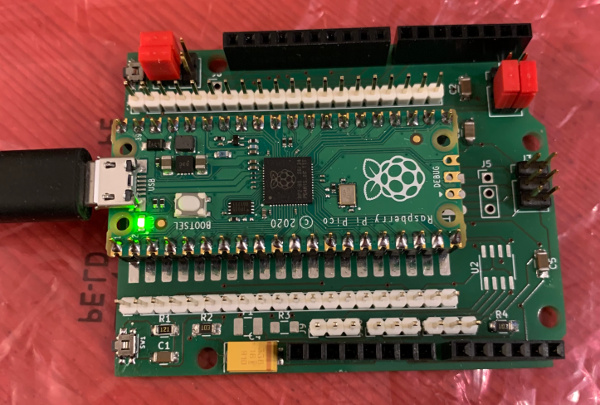
To start exploring the (new) Raspberry Pi Pico, I did make a small carrier board with Arduino R3 compatible form factor. Due to the 3.3V nature of the Raspberry Pi Pico, all I/O is 3.3V only.

Schematics
Meep Meep – He’s fast!
As a first test the following sketch was compiled under the Arduino IDE available for the Raspberry Pi Pico (see [1]):
/*
 *  portloop
*/

#if defined(__AVR_ATmega328P__)
#define testpin 2
#else
#define testpin (16u)
#endif

void setup() {
  pinMode(testpin, OUTPUT);
}

void loop() {
  for(;;) {
    digitalWrite(testpin, HIGH);   // turn the LED on (HIGH is the voltage level)
    digitalWrite(testpin, LOW);    // turn the LED off by making the voltage LOW
  }
}
The test results for my ArduPico:
cycle time = 568ns @ 23mA supply current
The test results for an Arduno Uno R3:
cycle time approx. 6.65us @ 57mA supply current
The tests were performed with a Lenovo T550 laptop computer with Vusb = 5.235V.

Timing on the ArduPico